Meta Description: Learn how to monitor your garden remotely using smart technology in 2024. Discover the best remote garden monitoring systems for temperature, soil moisture, plant health tracking, and automated care.
Would you believe I once lost an entire tomato crop while on vacation? That’s exactly what inspired my deep dive into remote garden monitoring.
Today’s smart garden tech is revolutionizing how we care for our plants, letting you check on your garden from anywhere in the world.
I feel like one of the biggest reasons people don’t plant a garden is that they don’t have the time to care for it. Well, with today’s technology, you can slice what you would typically take to care for your garden into a fraction of the time.
I know what you’re thinking, “using tech to garden isn’t very green of me.” Actually, it can be. In fact, studies show that smart garden monitoring can reduce water usage by up to 40% while improving crop yields!
Let me share what I’ve learned about keeping your garden thriving, even when you’re miles away.
Essential Components of a Remote Garden Monitoring System
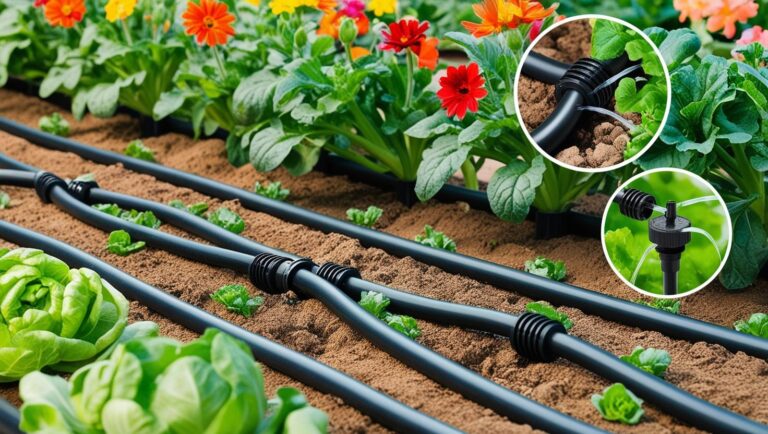
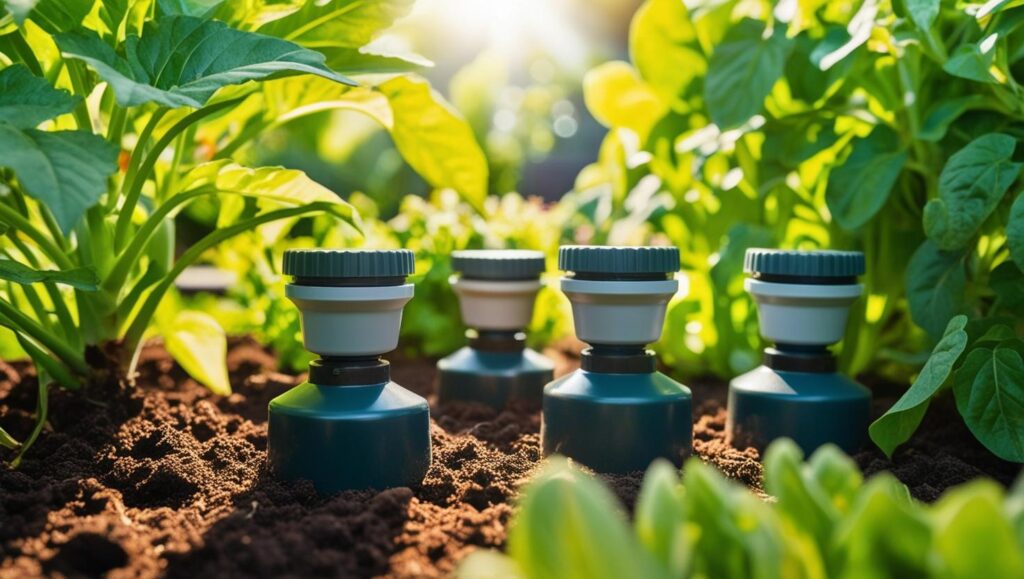
The foundation of any good setup starts with smart soil moisture sensors. Think of these as your garden’s vital signs monitor – they’re absolutely essential!
I use the VH400 sensors in my raised beds, and they’ve been incredibly reliable. They measure moisture at different soil depths, so you know exactly when your plants need water. The best part? They can trigger your irrigation system automatically when moisture levels drop too low.
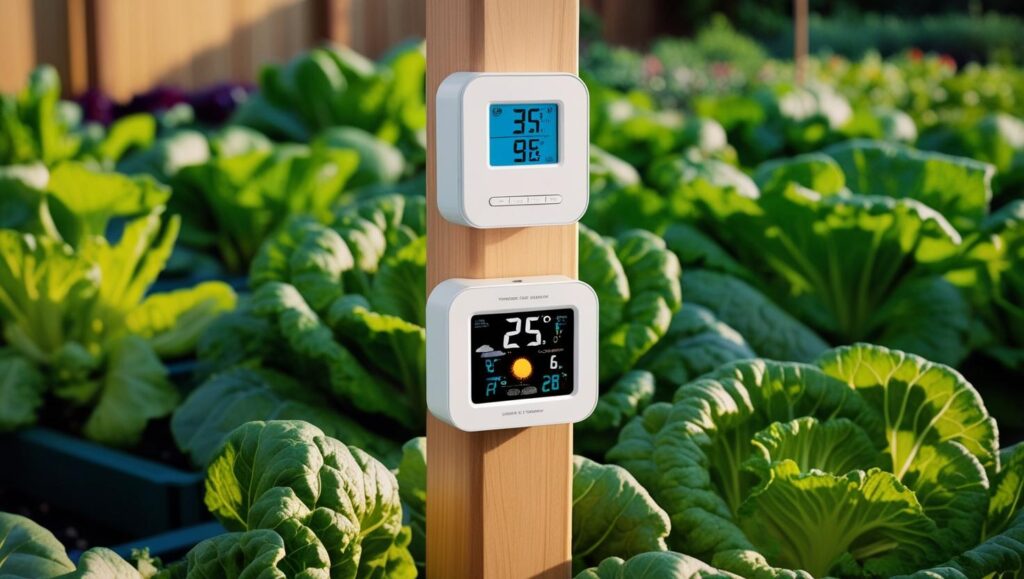
Weather stations are another game-changer. I learned this lesson when an unexpected frost nearly wiped out my spring seedlings.
Now, my Davis Vantage Pro2 tracks temperature, humidity, and rainfall, sending alerts to my phone when conditions change dramatically. Yes, it’s a bit pricey at around $600, but trust me – it’s worth every penny for the peace of mind it provides.
For visual monitoring, you’ll want an HD camera with night vision capabilities. I can’t tell you how many times this has helped me spot unwanted visitors – both human and animal!
The Reolink Argus 3 Pro has been my go-to choice. It’s solar-powered, provides crystal-clear footage, and has excellent motion detection. Plus, its two-way audio lets me scare away those pesky rabbits that used to feast on my lettuce!
Smart irrigation controllers tie everything together. After wasting countless gallons of water with traditional timers, I switched to the Rachio 3. It automatically adjusts watering schedules based on weather forecasts and soil moisture readings. It’s cut my water usage by 30% while keeping my plants healthier than ever.
The final piece is mobile app integration. Look for systems that offer comprehensive apps with intuitive interfaces. You’ll want real-time notifications, historical data tracking, and the ability to control everything from your phone.
The Gardena smart system app is particularly user-friendly, though there are plenty of great options out there.
Setting Up Your Smart Garden Monitoring System
When I first started with smart garden monitoring, wires were everywhere, sensors that wouldn’t connect, and a very frustrated gardener (me!) trying to make sense of it all. Well, I’ve learned a lot since then, and I’m going to save you from making the same mistakes I did.
First things first – location is everything when installing soil sensors. Place them at root level, about 6 inches deep for most plants.
I’ve found that installing them at a slight angle prevents water from pooling around the sensor. And here’s a pro tip: mark each sensor location with a small flag or stake. You’ll thank me later when you’re troubleshooting!
For weather stations, height and obstruction-free placement are crucial. Mine is mounted 6 feet above my tallest plants on a sturdy pole.
Make sure it’s level – even a slight tilt can affect rain measurements. And please, learn from my mistake: don’t mount it under trees! Those leaves will mess with your rainfall readings.
When it comes to wireless connectivity, create a “garden network” if possible.
I use a dedicated WiFi extender for my garden devices, which has eliminated those frustrating connection drops I used to experience. The TP-Link AC750 has worked wonders for me, maintaining stable connections even during storms.
For camera placement, think like a security expert.
You want coverage of your entire garden while avoiding direct sunlight on the lens. I mount mine about 7 feet high, angled slightly downward. This height has proven perfect for capturing both overall garden views and detailed plant shots when I zoom in.
Programming automated watering schedules takes some trial and error. Start conservative – you can always add more water, but overwatering is harder to fix!
I typically set my system to water deeply but infrequently, encouraging strong root growth. My basic schedule is 3 times per week, adjusting automatically based on rainfall and soil moisture readings.
What to Look for in a Garden Monitoring Device
After testing dozens of monitoring systems in my garden, I’ve developed a thorough checklist for evaluating new devices. Let me share what really matters when choosing a monitoring system.
Sensor accuracy is absolutely crucial. Look for soil moisture sensors with at least ±3% accuracy and temperature sensors with ±0.5°C precision.
I learned this lesson the hard way when an inaccurate sensor led me to overwater my tomatoes, leading to root rot. Always check if the manufacturer provides calibration data and accuracy specifications.
Battery life can make or break your monitoring experience. My recommendation? Look for solar-powered options or devices that promise at least 6 months of battery life.
The best systems use low-power protocols like LoRaWAN or Zigbee, which can extend battery life significantly. I’ve found that solar-powered units with backup batteries offer the most reliable performance.
Connectivity is another critical factor. While WiFi sensors are convenient, they often struggle in larger gardens. Long-range options using LoRaWAN can cover up to 10 acres and penetrate dense foliage better.
Make sure your chosen system maintains stable connections during adverse weather – that’s when you need the data most!
Weather resistance should be non-negotiable. Every sensor should have an IP67 rating at minimum, meaning it can handle rain and temporary submersion.
I’ve seen too many gardeners waste money on inadequately protected sensors that fail after the first storm. Look for UV-resistant materials too, as sunlight can degrade plastic housings quickly.
Finally, consider the software ecosystem. The best hardware is useless without good software support.
Look for systems offering data export capabilities, customizable alerts, and regular app updates. The interface should be intuitive enough that you’ll actually use it daily, with clear data visualization and easy access to historical trends.
Advanced Features and Automation Techniques
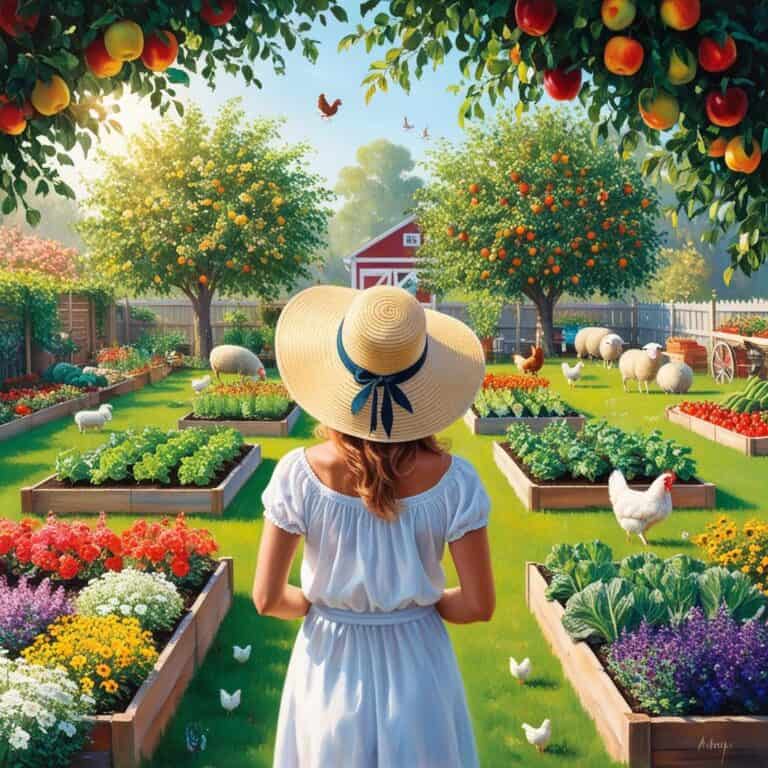
You know what’s amazing? Walking into my garden after a week away and finding everything thriving better than when I used to check it daily! That’s the power of proper automation, and I’m excited to share exactly how I achieved this.
Setting up custom alerts was my first step toward garden autonomy.
I’ve configured different notification thresholds for different plants – my moisture-loving ferns trigger alerts at 40% soil moisture, while my drought-resistant herbs wait until 20%. This targeted approach has dramatically improved plant health while conserving water.
The real game-changer came when I integrated my garden system with my smart home hub. Now, when frost is predicted, my greenhouse windows automatically close. Similarly, if soil moisture drops too low while rain is forecasted, the system waits before triggering irrigation. This kind of intelligent automation has reduced my water usage by 40% compared to last year!
Let’s talk about disease detection – something I wish I’d had years ago when blight wiped out my tomatoes. Modern AI-powered cameras can now spot signs of common plant diseases before they become visible to the human eye.
My system recently alerted me to powdery mildew on my zucchini plants three days before I could see it, allowing for early treatment that saved the crop.
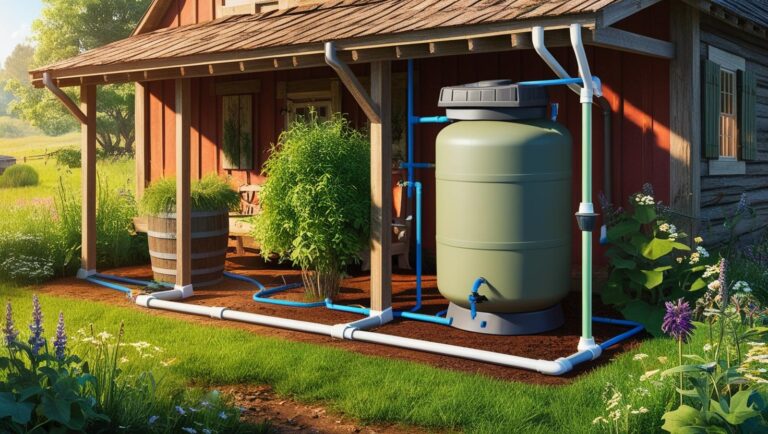
I’ve set up zones for water conservation based on plant needs and soil conditions. My system factors in soil type, plant maturity, and weather patterns to optimize watering schedules.
During last summer’s drought, this smart zoning helped me maintain a productive garden while staying within water restrictions.
Data Analysis and Garden Optimization
After collecting three years of garden data, I’ve learned that numbers tell amazing stories about our plants! Let me share how I turn all those sensor readings into actionable insights that have transformed my garden’s productivity.
Understanding sensor readings took some practice. I started by creating baseline measurements for optimal conditions, then tracked deviations.
For example, I discovered that my tomatoes produce best when soil moisture fluctuates between 40-60%, with higher moisture levels actually decreasing fruit production.
This kind of specific data has helped me fine-tune my irrigation system for maximum yields.
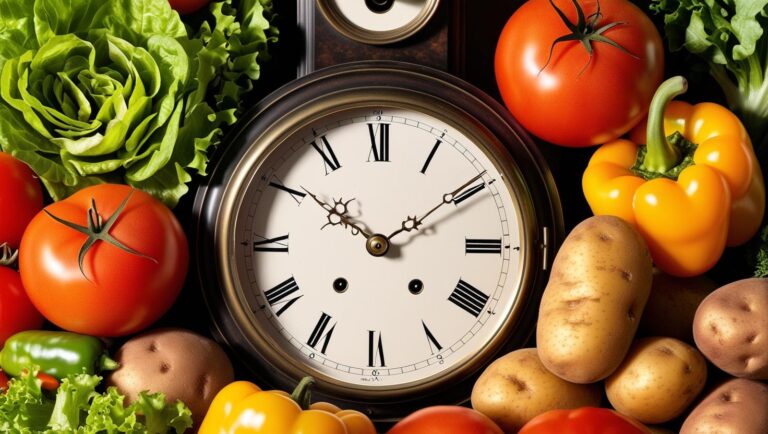
Historical data has been invaluable for seasonal planning. By analyzing past performance, I’ve optimized my planting calendar.
Did you know that in my zone, planting peas just 10 days earlier than conventional wisdom suggests has resulted in a 25% increase in harvest? That’s the power of data-driven gardening!
I use a simple spreadsheet to track growth patterns and yields, correlating them with environmental data. This has revealed fascinating patterns – like how my peppers produce significantly more fruit when overnight temperatures stay above 65°F, even if daytime temperatures are identical.
Resource optimization has been particularly rewarding. By analyzing water usage patterns, I’ve reduced my garden’s water consumption by 35% while increasing yields.
The key was discovering that many plants perform better with less frequent but deeper watering, allowing root systems to develop more fully.
The most exciting part? Using this data to predict problems before they occur. By tracking humidity patterns, I can now anticipate fungal disease risks and take preventive measures.
This proactive approach has virtually eliminated the crop losses that used to plague my garden every season.
Remote garden monitoring systems have transformed gardening from a time-intensive hobby into an innovative, efficient practice.
By implementing these technologies, you’ll not only save time and resources but also create a more sustainable and productive garden.
Ready to take your gardening into the digital age? Start with a basic sensor system and gradually expand based on your needs. Your plants will thank you!