Meta Description: Transform your urban space into a thriving garden! Learn essential urban gardening techniques, from container growing to vertical gardens. Perfect for beginners looking to grow fresh produce in cities.
Urban gardening isn’t just a trend – it’s a revolution in how we think about food production and sustainability.
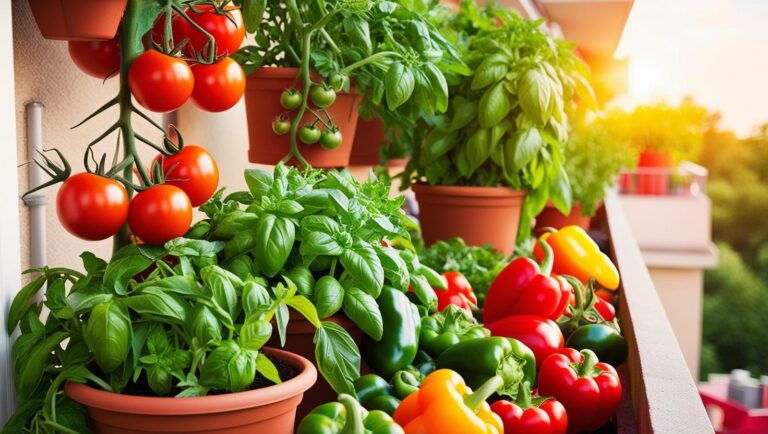
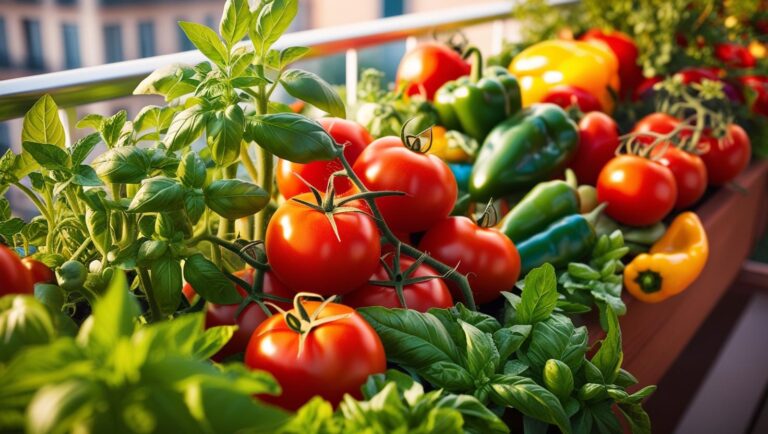
In times past, gardening was reserved for those living in rural areas but anyone can grow their own food, even from the balcony of a highrise apartment.
In this guide, I will share the basics of successfully gardening for those living in the city or suburbs.
Getting Started with Urban Gardening
Let me save you some of the headaches I went through. First things first – let’s talk about what type of urban gardening actually makes sense for your space. I’ve tried them all, and here’s the real deal on each method:
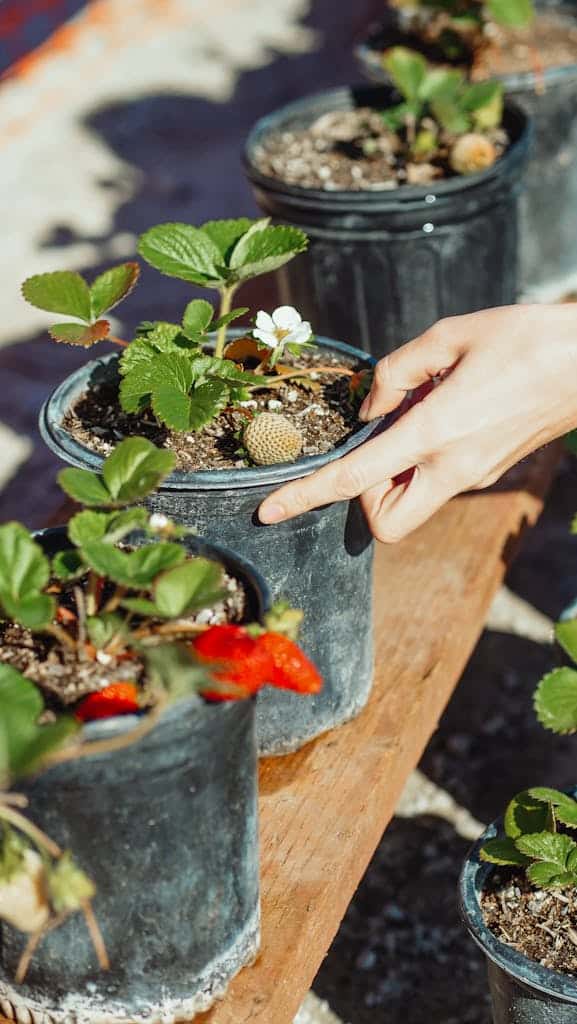
Container Gardening:
This is where most of us start, and honestly, it’s perfect for beginners. You can start with just one pot!
I began with a single cherry tomato plant in a 5-gallon bucket, and that little plant sparked my whole urban gardening journey.
Container gardening is super flexible – you can move things around as needed and start small.
Vertical Gardening:
Once I realized I could grow UP instead of OUT, my growing space practically tripled! But here’s the thing – start simple.
Your first vertical garden could be just a few strings attached to your balcony ceiling for pole beans. No need for those fancy wall systems right away.
Hydroponic Growing:
I’ll be honest – I tried this after watching too many YouTube videos, and while it’s amazing, it’s not where I’d recommend starting. The initial investment is higher, and there’s a steeper learning curve. Save this for when you’ve got the basics down.
Now, let’s talk about the basic tools you actually need to get started. And I mean actually need, not what the garden centers want you to think you need!
Here’s my starter kit:
- Good quality hand trowel ($10-15)
- Pruning shears ($15-20)
- Watering can with a gentle spray ($15)
- 3-4 containers with drainage holes (can even be repurposed buckets)
- Quality potting soil (about $15 for a large bag)
- Basic organic fertilizer ($10)
Total investment? Around $75-100 to get started. That’s it! Don’t let anyone convince you that you need more than this to begin.
When it comes to setting realistic expectations, here’s something I wish someone had told me: start small and focus on easy wins.
My first successful garden had just three things:
- One tomato plant
- Two basil plants
- One container of lettuce
And you know what? That small setup produced enough for fresh salads and homemade bruschetta all summer long! It’s way better to have three thriving plants than fifteen struggling ones.
Speaking of expectations, let’s talk about sun exposure. You need to track how many hours of direct sunlight your space gets. Don’t guesstimate!
After planting sun-loving tomatoes in what I thought was a “sunny spot”—it turned out it only got 3 hours of direct sun.
Use your phone to take pictures of your space every hour for a day. This will give you a real picture of your light situation.
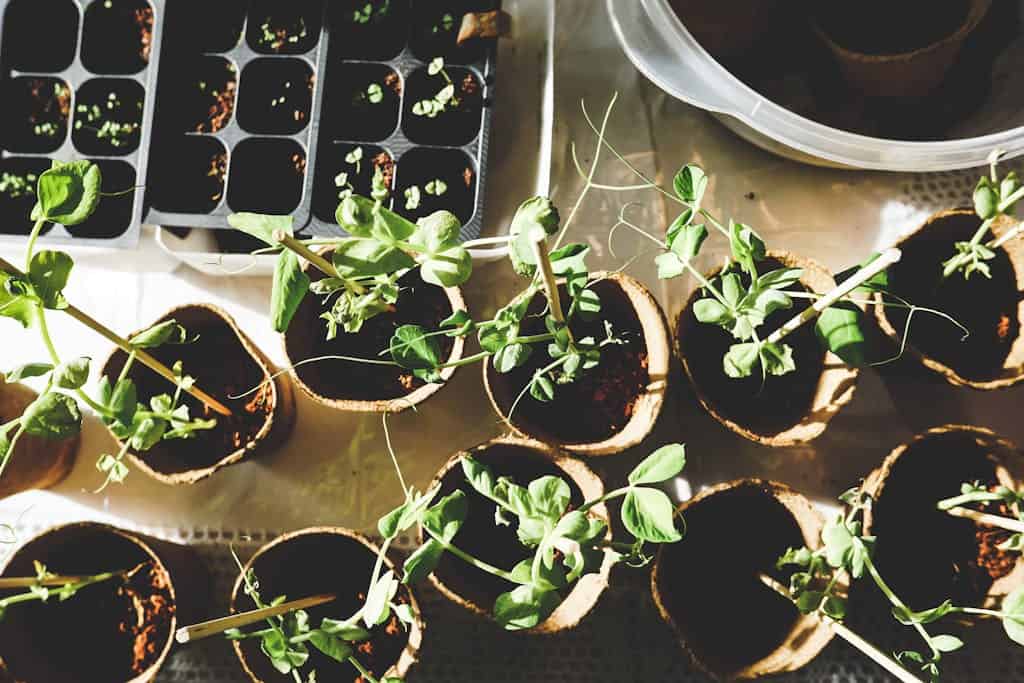
Cost-wise, here’s a pro tip: start from seeds for some plants (like lettuce and herbs), but buy seedlings for others (like tomatoes and peppers).
This gives you the best balance of cost savings and quick results. Seeds cost about $2-3 per packet, while seedlings might be $4-5 each, but the instant gratification of already-growing plants can help keep you motivated.
One more thing about getting started – don’t skip the research phase, but don’t get paralyzed by it, either.
Give yourself one week to:
- Analyze your space’s sunlight
- Decide on 2-3 plants to start with
- Gather your basic supplies
- Just start growing!
Remember, every expert gardener started exactly where you are. They just started and learned along the way.
Choosing the Right Location
Finding the perfect spot for your urban garden is like playing chess with the sun – every move matters!
When I first started, I thought any outdoor space would work. Let me share what I’ve learned about choosing the right location, often through trial and error (mostly error, if I’m being honest).
First, let’s talk about analyzing sunlight patterns. This is absolutely crucial, and it’s more complex in urban environments than you might think.
Here’s my tried-and-true method for mapping sun exposure:
Morning Sun (6am-11am):
- Usually less intense
- Great for leafy greens
- Often blocked by buildings in urban settings
Midday Sun (11am-2pm):
- Most intense
- Perfect for fruiting plants like tomatoes and peppers
- Can be too harsh in reflective urban environments
Afternoon Sun (2pm-sunset):
- Can be quite hot
- Watch for building shadows
- Good for heat-loving plants
I learned to use a simple sun-tracking app on my phone, but you can also just take photos of your space every hour for a day. Trust me, this step alone can save you months of frustration!
Now, let’s discuss microclimates – these are game-changers in urban settings! Your growing space might have several different microclimates in just a few square feet.
Here’s what to watch for:
Heat Reflecting Surfaces:
- Light-colored walls can increase temperature by 10-15 degrees
- Metal railings create hot spots
- Concrete surfaces retain heat (great for heat-loving plants!)
Wind Patterns:
- Building corners often create wind tunnels
- Upper floors experience stronger winds
- Use wind patterns to your advantage for natural cooling
When it comes to specific urban spaces, here’s what I’ve learned about each:
Balconies:
- Check weight restrictions (wet soil is HEAVY!)
- Consider privacy screens as growing surfaces
- Use corner spaces strategically
Rooftops:
- Get permission first!
- Wind protection is crucial
- Factor in accessibility for watering
Windowsills:
- South-facing windows are gold for herbs
- Use window boxes with proper drainage
- Consider extending growing space with shelf units
Here’s my favorite tip for maximizing growing area: think in three dimensions! I use a simple formula:
- Floor space for large containers
- Railing space for hanging planters
- Vertical space for climbing plants
- Overhead space for hanging baskets
One mistake I made early on was not considering access. Make sure you can easily reach all your plants for watering and harvesting. I once had to do some serious yoga moves to reach a tomato plant I’d placed in an awkward corner – not fun!
Here’s a quick checklist I use when evaluating any growing space:
- Minimum 6 hours of sun for most vegetables
- Protection from strong winds
- Easy access to water
- Good drainage options
- Safe from pets/wildlife
- Easy maintenance access
- Weight-bearing capacity
And remember, you can always modify your space. I’ve used:
- Reflective surfaces to increase light
- Shade cloth to reduce intense sun
- Windbreaks for exposed areas
- Mobile planters for flexible arrangements
The key is to work with what you have, not against it.
Some of the most productive urban gardens I’ve seen are in seemingly “imperfect” spaces – they just make smart use of their specific conditions.
Essential Container Gardening Techniques
I still cringe thinking about my first attempt at growing tomatoes in those tiny 6-inch pots from the dollar store. Spoiler alert: it didn’t end well!
After years of trial and error (and quite a few dead plants), I’ve learned that successful container gardening really comes down to getting the basics right.
The most important thing? Start with properly sized containers.
Here’s a quick cheat sheet I wish I’d had when starting out:
- Herbs: 6-8 inch deep containers
- Leafy greens: 4-6 inch deep containers
- Tomatoes: minimum 12 inch deep containers
- Peppers: 10-12 inch deep containers
And, y’all, those holes at the bottom of your pots? They’re not just decorative! Make sure all your pots have drainage holes or your plants might drown on a rainy day.
Also, you can’t just dig up some dirt from your local park and call it a day. Trust me on this – invest in a good-quality potting mix.
Temperature management is another crucial factor of container gardening.
Dark-colored containers can heat up like crazy in direct sunlight – I once measured the soil temperature in my black plastic containers at a whopping 95°F! Now, I either use light-colored containers or wrap dark ones in light-colored fabric or burlap during peak summer months.
I picked up a tip from an old gardener: the “reservoir method.” Place a layer of gravel at the bottom of your container (about 1-2 inches), then add a piece of landscape fabric before adding your soil mix.
This creates a mini water reservoir that helps prevent both overwatering and underwatering. It’s been absolutely amazing for maintaining consistent moisture levels, especially for thirsty plants like tomatoes and cucumbers.
Remember, container gardening isn’t rocket science, but it does require attention to detail. Start with these foundational techniques, and you’ll be amazed at how much you can grow in even the smallest urban space.
Best Plants for Urban Gardens
You know what’s funny? When I first started urban gardening, I thought I could grow anything. Watermelons on my balcony? Sure! Corn in my window box? Why not! Let’s just say I learned some hard lessons about plant selection.
I’ve discovered certain plants are absolute superstars in urban gardens. Let me share my top performers, which have consistently delivered great harvests in small spaces.
First up – leafy greens are your best friends! I cannot stress this enough.
Lettuce, spinach, and arugula are like the reliable roommates of the garden world. They don’t take up much space, they grow quickly, and they actually prefer the slightly cooler conditions often found on partially shaded balconies.
Here’s a quick breakdown of my favorite leafy greens and their growing times:
- Baby lettuce: Ready in 21-30 days
- Spinach: Harvestable in 30-40 days
- Arugula: First harvest in just 20-25 days
- Swiss chard: Ready in 50-60 days (and keeps producing all season!)
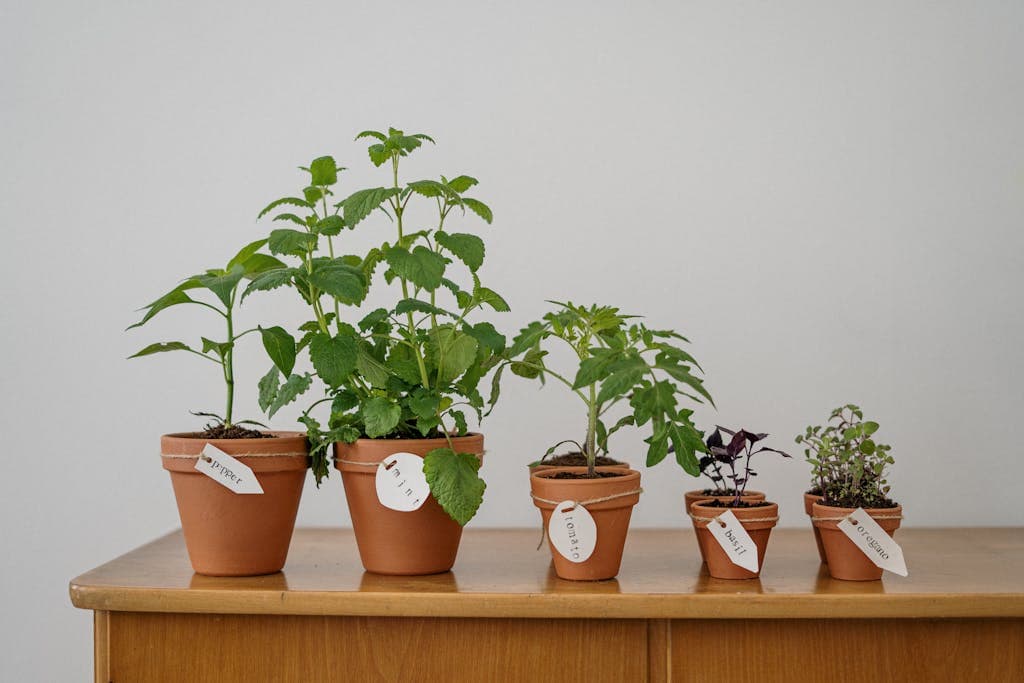
Herbs are another category that absolutely thrives in urban settings. I have what I call my “kitchen window herb empire” – a collection of containers that provide fresh herbs year-round. The MVPs (Most Valuable Plants) in my herb garden are:
- Basil (grows like crazy in summer)
- Mint (keep this in its own container – trust me on this one!)
- Parsley (super low maintenance)
- Thyme (practically indestructible)
- Rosemary (perfect for sunny spots)
Now, let’s talk about everybody’s favorite: tomatoes. But here’s the thing – not all tomato varieties are created equal when it comes to container growing.
After trying countless varieties, I’ve found that determinate (bush) varieties and dwarf varieties work best in urban settings. My top recommendations:
- ‘Tiny Tim’ (perfect for windowsills)
- ‘Patio’ (great for 5-gallon containers)
- ‘Bush Early Girl’ (reliable producer)
- ‘Roma’ (compact and great for sauce)
One vegetable that surprised me with how well it does in containers? Peppers! Both sweet and hot peppers are incredibly space-efficient and can produce tons of fruit in a single season.
I’ve had particularly good luck with:
- Thai chilies (one plant produces enough peppers to last all year)
- Bell peppers (especially the smaller varieties)
- Shishito peppers (these are super trendy and expensive at stores, but so easy to grow!)
Pole beans are way more space-efficient than bush beans in urban gardens. One pole bean plant growing vertically can produce the same amount as 4-5 bush bean plants! Just give them a simple trellis or string system to climb.
For winter growing, don’t sleep on microgreens! These tiny powerhouses can be grown indoors year-round and are ready to harvest in just 7-14 days.
Plus, they’re packed with nutrients and can cost a fortune at specialty markets. I grow a new tray every two weeks and haven’t bought salad greens in months.
One thing I’ve learned about successful urban gardening is to focus on crops that:
- Give continuous harvests over a long period
- Don’t require massive containers
- Can handle less-than-perfect conditions
- Provide high value for the space they occupy
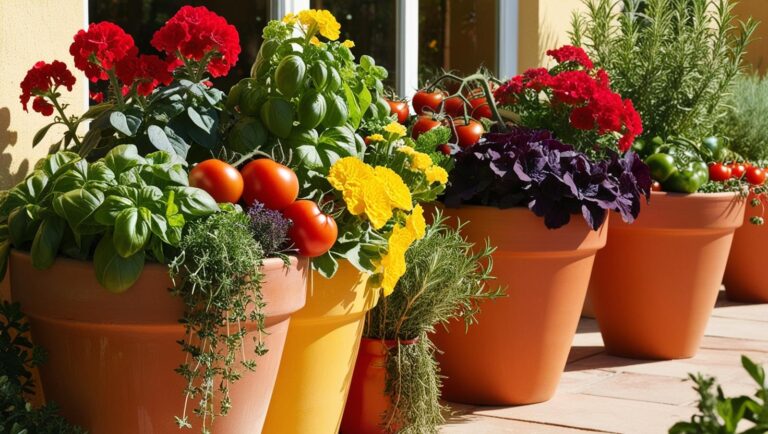
Oh, and here’s something I wish someone had told me earlier: plant flowers! Not only do they make your urban garden beautiful, but they also attract pollinators and beneficial insects.
Marigolds, nasturtiums (which are edible!), and calendula are all compact choices that pull double duty as both pretty and practical additions.
Remember, the “best” plants for your urban garden might be different from mine, depending on your specific conditions. Start with these tried-and-true options, but don’t be afraid to experiment – just maybe skip the watermelons.
Vertical Gardening Solutions
When I discovered vertical gardening, it felt like unlocking a secret level in a video game. Suddenly, my tiny balcony’s growing space tripled! Let me share what I’ve learned about growing up instead of out.
First, let’s talk about DIY vertical structures. Here are my favorite tested solutions:
Simple String Trellis:
- Eye hooks in ceiling/railing
- Strong garden twine
- Perfect for peas and beans
- Cost: under $10
PVC Pipe Garden:
- 4-inch PVC pipe with holes
- End caps and hangers
- Great for lettuce and herbs
- Cost: about $30
Pallet Garden:
- Free pallets (check for HT stamp!)
- Landscape fabric backing
- Ideal for shallow-rooted plants
- Cost: just soil and plants
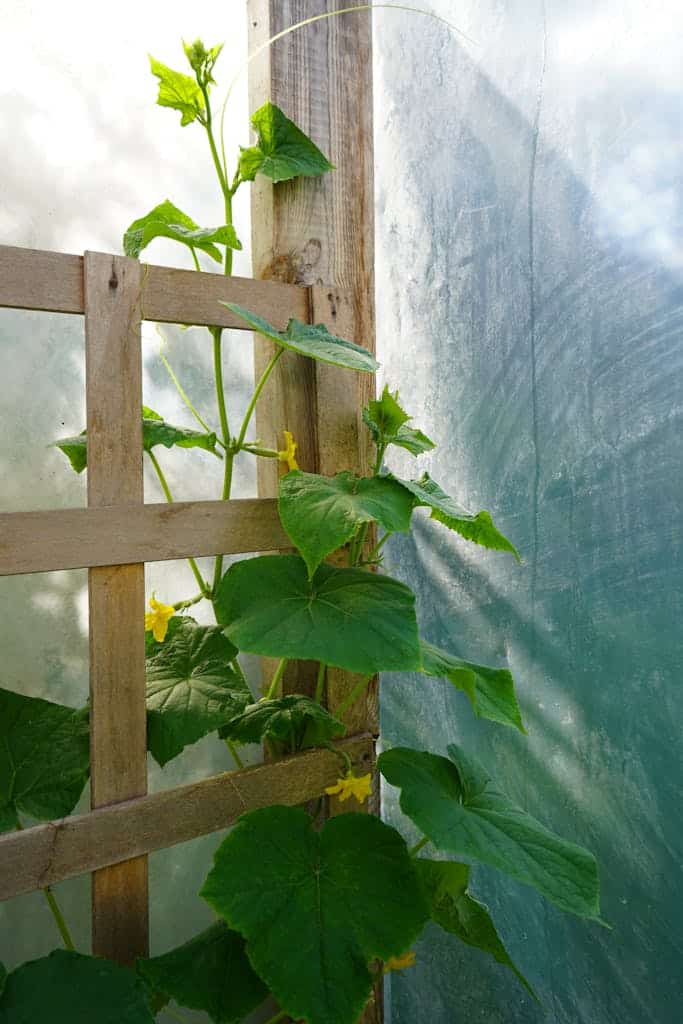
For climbing plants, I’ve had great success with:
- Pole beans (my favorite is Kentucky Wonder)
- Cucumbers (look for bush varieties)
- Peas (both snow and snap peas work well)
- Vining tomatoes (Sungold is amazing!)
Wall-mounted systems have been game-changers too. Here’s what works:
- Pocket planters:
Fabric versions are best
Need strong mounting
Water frequently
- Guttering systems:
Perfect for herbs and greens
Ensure proper drainage
Paint exterior ones to match building
- Bottle gardens:
Recycled plastic bottles
Great for herbs
Need regular monitoring
Hanging basket tips I’ve learned:
- Use self-watering baskets if possible
- Choose cascading varieties
- Layer plants for fullness
- Consider weight when wet
The best part about vertical gardening? It creates microclimates!
Lower plants get filtered light, making them perfect for shade-lovers. I’ve even used tall plants to create shade for lettuce in summer.
Remember though – vertical gardens dry out faster than horizontal ones. I water mine:
- Morning and evening in summer
- Once daily in spring/fall
- Check soil moisture daily
- Use moisture-retaining soil mix
Your vertical garden can also double as:
- Privacy screen
- Shade structure
- Windbreak
- Living art!
Soil and Fertilization Tips
Understanding soil is a big part of gardening success. Let me share what I’ve learned about creating the perfect growing environment for container plants.
After years of experimentation, here’s my foolproof recipe for the perfect potting mix:
- 40% high-quality potting soil
- 30% compost
- 15% perlite
- 15% coconut coir
- A handful of worm castings (trust me on this one!)
Why this mix? It’s all about balance. The potting soil provides nutrients, the compost feeds your plants long-term, perlite ensures drainage, and coconut coir retains just enough moisture. The worm castings? They’re like a superfood smoothie for your plants!
Let’s talk fertilization. In containers, you can’t just “set it and forget it.” Here’s my feeding schedule that’s worked wonders:
- Leafy greens: Light feeding every 2 weeks
- Fruiting plants: Weekly feeding during production
- Herbs: Monthly feeding is usually sufficient
- Root vegetables: Initial soil prep, then monthly
For organic fertilization, I’ve had great success with:
- Compost tea (I brew my own – it’s like a spa day for plants!)
- Fish emulsion (warning: it stinks, but plants LOVE it)
- Seaweed fertilizer (great micronutrients)
- Banana peel water (perfect for tomatoes and peppers)
Now, about composting in small spaces – yes, it’s possible! You can use a small bokashi system under your sink. It handles all kitchen scraps and creates amazing fertilizer. The key is layering:
- Green materials (veggie scraps, coffee grounds)
- Brown materials (paper, dried leaves)
- Bokashi bran between layers
- Give it a quick stir weekly
For pest control, I’ve learned that prevention is better than cure. My organic pest management strategy includes:
- Companion planting (marigolds and basil are my secret weapons)
- Regular inspection of leaves (especially undersides)
- Strong blast of water for aphids
- Neem oil for serious issues (but only as a last resort)
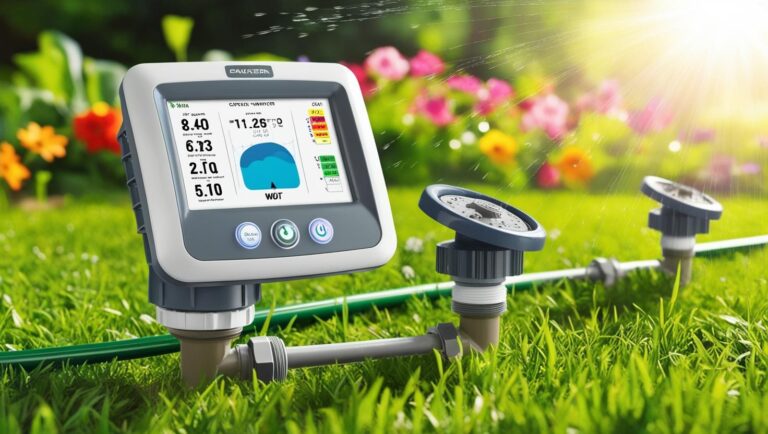
I got a simple pH meter ($15 online) to check my soil. Most vegetables like a pH between 6.0-6.8. If your plants look unhealthy despite good care, check the pH!
One final tip that revolutionized my container gardening: mulching! Even in containers, a layer of mulch:
- Reduces water evaporation
- Regulates soil temperature
- Prevents soil compaction
- Looks nice!
I use coconut coir as mulch because it’s lightweight and effective. Some folks use straw or wood chips, but in containers, lighter is better.
Watering and Maintenance
Let’s get real about watering—it’s probably the trickiest part of urban gardening. I used to either drown my plants or let them get so dry that they looked like they belonged in a desert. Now, I’ve got a system that works like clockwork.
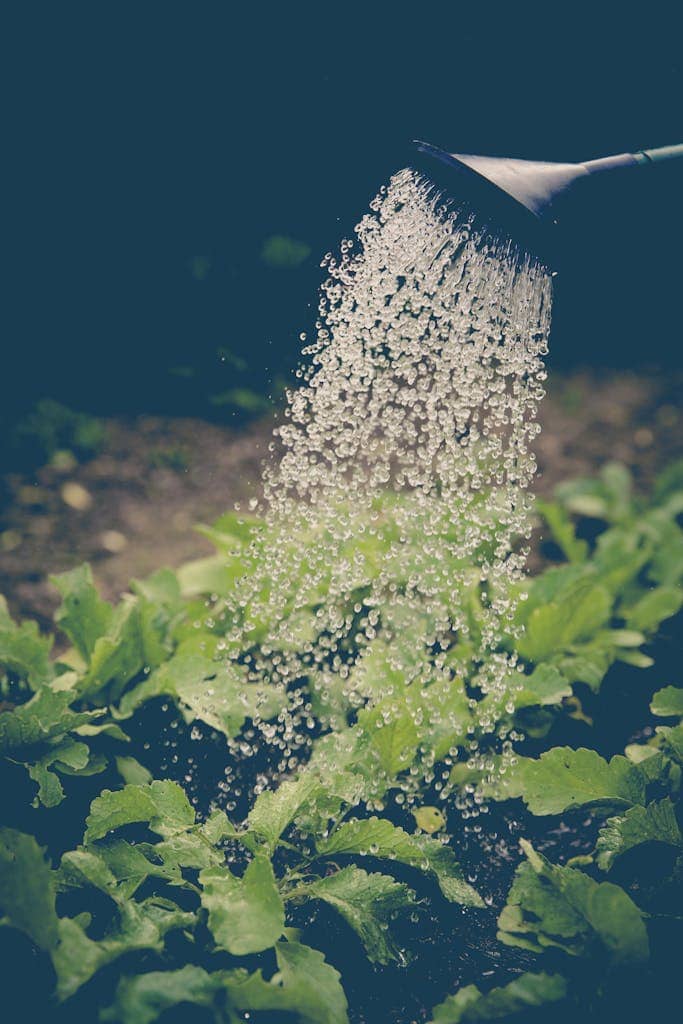
First, the golden rule of container watering: check before you water! Here’s my foolproof method:
- Stick your finger 2 inches into the soil
- If it’s dry at that depth, water thoroughly
- If it’s still moist, check again tomorrow
Different plants have different water needs. Here’s what I’ve learned:
- Tomatoes: Deep watering 2-3 times per week
- Leafy greens: Light, frequent watering
- Herbs: Let the top inch dry between watering
- Peppers: Like to dry slightly between watering
Setting up a self-watering system makes things super easy. You don’t need anything fancy – I use:
- Wine bottles filled with water (instant drip system!)
- Water-wicking cords for vacation time
- Self-watering containers for thirsty plants
- Moisture meters for problem areas
Daily maintenance is crucial but doesn’t have to be time-consuming. My 10-minute morning routine:
- Check moisture levels
- Remove any yellow/dead leaves
- Look for pest issues
- Harvest anything ready
- Quick prune if needed
Seasonal care requirements vary significantly. Here’s my seasonal checklist:
Spring:
- Clean and sanitize containers
- Replace or refresh soil
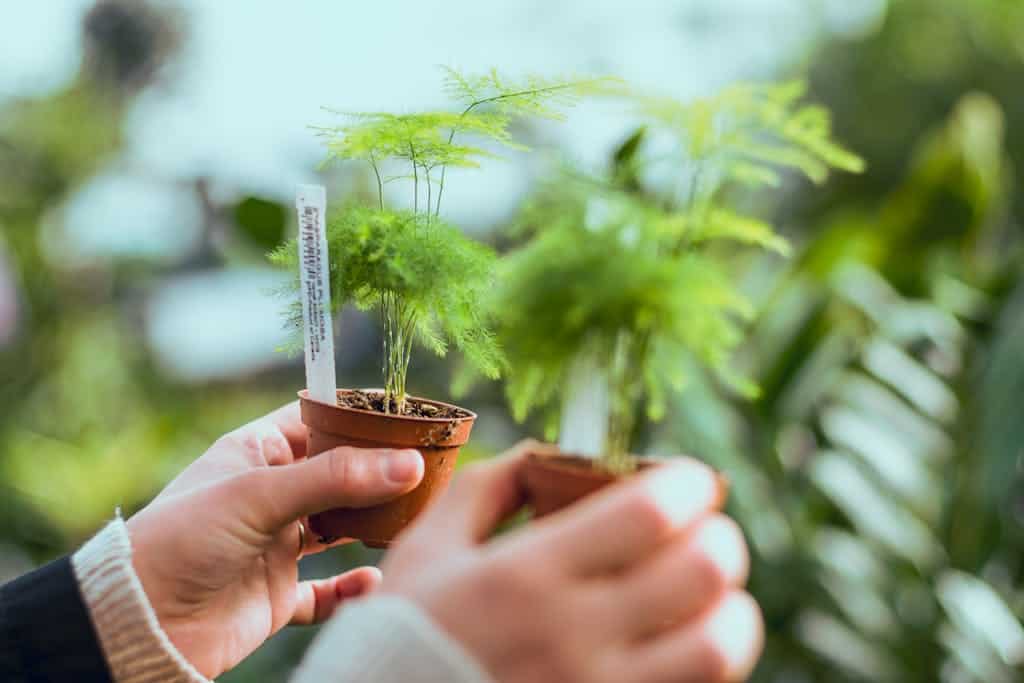
- Start seedlings
- Plan companion planting
Summer:
- Monitor water needs (sometimes twice daily!)
- Provide afternoon shade if needed
- Regular fertilization
- Harvest frequently
Fall:
- Reduce watering
- Clean up dead foliage
- Save seeds
- Prepare for winter protection
Winter:
- Move sensitive plants indoors
- Reduce fertilization
- Maintain indoor herbs
- Plan next season
Common problems I’ve encountered and their solutions:
Yellowing Leaves:
- Bottom leaves: Usually nitrogen deficiency
- Top leaves: Often overwatering
- Between veins: Likely nutrient issues
Wilting:
- Morning wilt: Check drainage
- Afternoon wilt: Normal on hot days
- Constant wilt: Root problems
One of my best maintenance tips? Keep a garden journal. I track:
- Watering schedule
- Fertilization dates
- Pest issues
- Harvest amounts
- What works/what doesn’t
This has helped me avoid repeating mistakes and refine my techniques each season.
Harvesting and Storage
In the beginning, I waited so long for my tomatoes to turn completely red that they split right on the vine! Now I know better, and I’m excited to share these hard-learned lessons about harvesting and storing urban garden bounty.
Here’s what I’ve learned about when to pick different crops:
Tomatoes:
- Harvest when they’re slightly firm and mostly colored
- They’ll continue ripening indoors
- Pick before heavy rain to prevent splitting
Leafy Greens:
- Pick outer leaves, and let the center keep growing
- Harvest in the morning for the best flavor
- Cut rather than pull to prevent damage
Herbs:
- Regular trimming encourages bushier growth
- Never take more than 1/3 of the plant
- Harvest before flowering for the best flavor
Peppers:
- Green peppers are technically unripe
- Colors indicate different nutrient levels
- Letting them ripen increases vitamin content
Here’s my biggest harvesting tip: invest in a good pair of scissors or pruning shears. Clean cuts mean healthier plants and better regrowth. I keep a small pair of dedicated garden scissors just for harvesting.
Now, about maximizing yield from small spaces – this is where succession planting comes in. I’ve developed a simple rotation system:
- Fast crops between slower ones (radishes between tomatoes)
- Replace finished plants immediately
- Always have seedlings ready to go
- Use vertical space for vining crops
For storage in small apartments, I’ve had to get creative. Here’s my system:
Fresh Storage:
- Herbs in water glasses (like flower bouquets)
- Leafy greens wrapped in damp paper towels
- Tomatoes on the counter (never refrigerate!)
- Root vegetables in cool, dark closets
Preserving Methods:
- Dehydrating:
Perfect for herbs
Works great for cherry tomatoes
Can be done in a regular oven
- Freezing:
Blanch greens before freezing
Freeze herbs in olive oil cubes
Label everything (learned this the hard way!)
- Small-Batch Canning:
Great for tomato sauce
Pickle excess cucumbers
Use proper safety protocols!
Here’s my apartment-friendly seed-saving technique:
- Choose open-pollinated varieties
- Let fruits fully ripen on the plant
- Clean seeds thoroughly
- Dry on paper plates
- Store in paper envelopes in a cool, dark place
One thing I wish I’d known earlier – you don’t have to harvest everything at once! Most plants will keep producing if you:
- Harvest regularly
- Don’t let fruit overripen
- Remove damaged produce promptly
- Keep plants well-fed and watered
Urban gardening is your gateway to sustainable living and fresh, homegrown produce, regardless of your living situation.
Start small, learn from each growing season, and watch your urban oasis flourish. Remember, every expert gardener started with their first plant – your journey begins with that first seed!