Meta Description (150 characters): Discover 5 expert-tested methods to save money on garden soil while maintaining optimal plant growth. Learn budget-friendly soil-building techniques that actually work!
Did you know that the average home gardener spends over $200 annually on garden soil and amendments? That’s a pretty penny for something that should be naturally abundant!
As garden costs continue to rise, finding ways to save money on quality soil has become more crucial than ever.
I’m excited to share the methods that have saved me hundreds while keeping my garden thriving. Whether starting your first vegetable patch or maintaining an established garden, these cost-effective solutions will help you build rich, fertile soil without breaking the bank.
Create Your Own Compost: The Foundation of Free Garden Soil
You know what’s funny? I used to think composting was this complicated science that required special equipment and perfect conditions. Boy, was I wrong!
After 15 years of gardening and countless compost piles later, I’ve learned that nature pretty much does the heavy lifting – we just need to create the right conditions and get out of the way.
Let me share my biggest composting breakthrough: the “lazy lasagna” method.
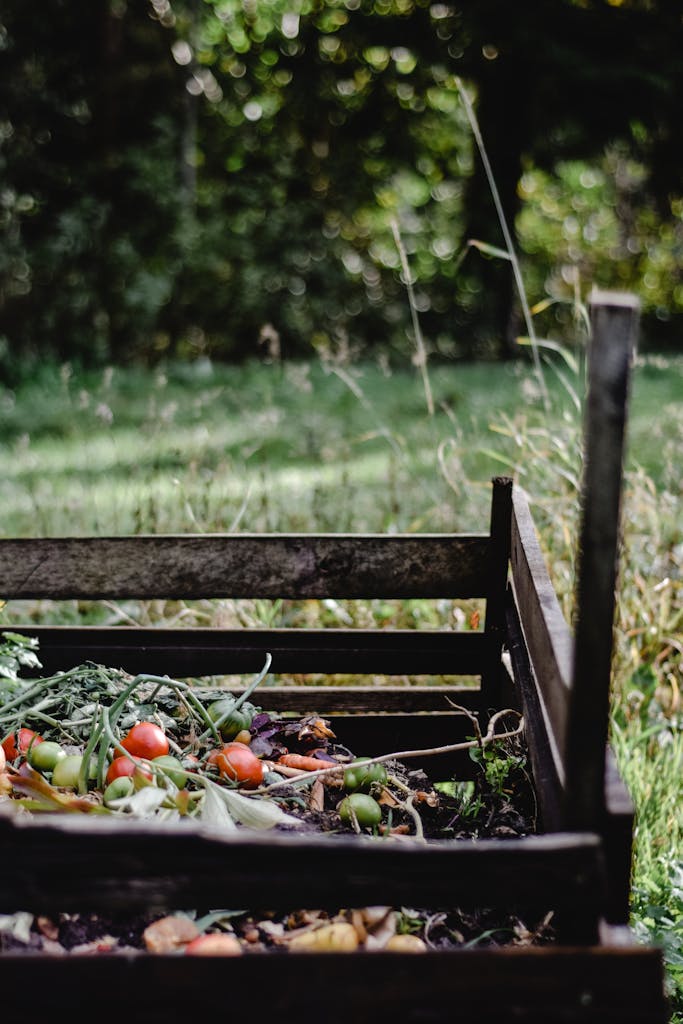
Instead of meticulously measuring green and brown materials, I now layer them like a lasagna. A layer of leaves here, some kitchen scraps there, a sprinkle of coffee grounds, and maybe some shredded paper.
The magic ratio I’ve found is roughly three parts brown (dead leaves, paper, straw) to one part green (kitchen scraps, grass clippings).
One mistake that cost me months of frustration? Not keeping my pile moist enough. I had this beautiful pile of materials, but nothing was happening.
Finally, a master gardener at our local extension office explained that a compost pile should feel like a wrung-out sponge. Now, I keep a watering can near my pile and give it a sprinkle whenever it feels dry. The difference is like night and day!
Speaking of mistakes – let me save you from my most embarrassing composting blunder.
I once threw a whole watermelon in my pile without chopping it up. Two weeks later, I had volunteer watermelon plants growing all over my yard! Now, I make sure to chop everything into smaller pieces, which also speeds up decomposition dramatically.
Here’s a pro tip that revolutionized my composting game: keep a covered 5-gallon bucket with a tight-fitting lid near your kitchen door. I line it with a biodegradable bag made from cornstarch.
When it’s full, I just toss the whole thing in my pile – bag and all. This simple system has made composting so convenient that my family actually sticks with it.
The real secret to successful composting? Location, location, location! After trying various spots in my yard, I’ve found that a partially shaded area works best.
Full sun dries everything out too quickly, while deep shade slows down decomposition. Plus, keeping it reasonably close to the house means you’ll actually use it.
Master the Art of Bulk Buying and Soil Storage
Can I share something that makes me cringe? I used to buy individual bags of potting soil from the garden center whenever I needed them. At $8-12 per bag, I was hemorrhaging money! That all changed when I discovered the magic of bulk soil ordering – and more importantly, how to store it properly.
First, let’s talk timing. I learned an industry secret from a friend who manages a garden center: soil suppliers typically offer their best deals in late winter or early spring.
Why? They’re trying to move product before the new season’s shipments arrive. I now place my bulk orders in February, saving about 40% compared to peak season prices.
But here’s the catch – you need to store that soil correctly, or you’ll end up with a moldy mess (ask me how I know!). After ruining half a cubic yard of premium soil by storing it improperly, I developed a system that works beautifully.
I use heavy-duty tarps to create a storage area on a slight slope for drainage. The soil gets covered with another tarp, but – and this is crucial – I leave small gaps at the corners for airflow.
Want to know my favorite money-saving hack? I organize group buys with my local gardening club. We split the delivery fee and often qualify for bulk discounts.
Last year, we ordered 15 cubic yards together, saving each person about $100 compared to buying individually. Plus, it’s turned into a fun social event – we call it our annual “Soil Social!”
One tool that’s saved me countless dollars? A simple soil calculator. Before this, I was definitely guilty of overbuying.
Now, I measure my spaces carefully and use an online calculator to determine exactly how much I need. Pro tip: add about 10% to your calculation for settling and top-offs during the season.
Transform Local Free Resources into Garden Gold
Let me tell you something – the best garden soil ingredients are often completely free! I learned this lesson the hard way after spending a small fortune on premium soil amendments during my first few years of gardening.
Now, my garden thrives on what others consider “waste,” and I haven’t bought a bag of soil amendments in over three growing seasons.
One of my favorite soil-building secrets? Coffee grounds! I still remember the day I timidly walked into my local coffee shop and asked if they had any used grounds to spare.
Not only were they happy to give them to me, but they actually thanked me for helping reduce their waste. I now have a regular arrangement with local cafes, and I collect about 30 pounds of coffee grounds each week during the growing season.
I’ve learned how to use coffee grounds effectively. They’re slightly acidic and incredibly nitrogen-rich, perfect for acid-loving plants like blueberries and azaleas. But don’t go overboard! I mix coffee grounds with other organic matter at a ratio of about 1:4, which gives me perfect results.
Speaking of other organic matter, let’s talk about leaves. Every fall, I become that slightly odd neighbor who actually asks for everyone’s bagged leaves.
Trust me, the mild embarrassment is worth it! Last year alone, I collected over 50 bags of leaves from my neighborhood.
Some I use right away as mulch, but most go into my “leaf mold” pile – simply a chicken wire enclosure where leaves slowly decompose into what I call “garden gold.”
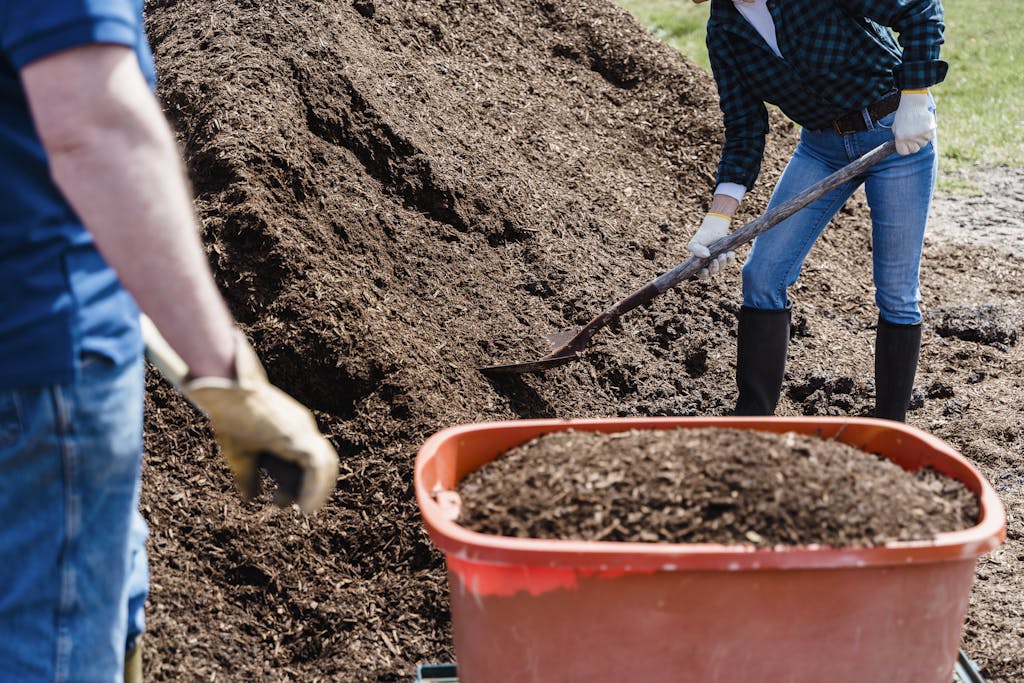
One of my most successful partnerships has been with a local tree service company. After chatting with a crew working in my neighborhood, I learned they typically have to pay to dispose of wood chips. Now they drop them off at my house for free whenever they work nearby.
Let the chips age for about 6 months before incorporating them into your garden beds. I learned this timing is crucial after accidentally causing a nitrogen deficiency in my squash patch using fresh chips!
Here’s a practical tip that took me years to figure out: create a “materials calendar.” Different free resources become available at different times throughout the year.
In spring, I collect grass clippings from neighbors. Summer brings pruning waste and spent plants. Fall is leaf season, and winter is perfect for collecting coffee grounds when other materials are scarce.
By planning ahead, you’ll never miss out on these valuable free resources.
Remember to always ask permission before collecting materials, and be sure to check that no chemical pesticides or herbicides have been used.
The best part about using local resources isn’t just the money saved – it’s the satisfaction of turning “waste” into wonderful, living soil.
Plus, you’re helping your community reduce waste while building something valuable. That’s what I call a win-win situation!
Implement No-Till Methods to Preserve Soil Investment
After years of dutifully tilling my garden each spring, I noticed something disturbing – I was spending more and more on soil amendments every year. It felt like I was on a gardening treadmill, constantly adding inputs but never really building soil quality.
That’s when I discovered no-till gardening; honestly, it felt wrong at first. Everything I’d learned about gardening involved turning the soil. But here’s the thing – nature doesn’t use a tiller, and she’s pretty good at growing things!
My first no-till bed was an experiment with my tomatoes. The results? They outperformed my tilled beds in every way, and I used about 60% less water.
The transition wasn’t all sunshine and roses, though. My first challenge was dealing with compaction. Here’s what worked for me: I use a broad fork in the spring to gently lift and aerate the soil without turning it.
One technique I’ve developed is the “layered mulch method.” Instead of tilling in amendments, I layer them on top of the soil in the fall – first a thin layer of compost, then leaves, and finally straw.
By spring, the worms have done all the incorporation work for me. The soil structure just gets better and better each year.
Here’s something surprising: my weed problems actually decreased with no-till.
Sure, the first year was a bit challenging, but once I got my mulch game down, the weed situation improved dramatically. I spend maybe a quarter of the time weeding than I used to.
Mix Your Own Custom Soil Blends
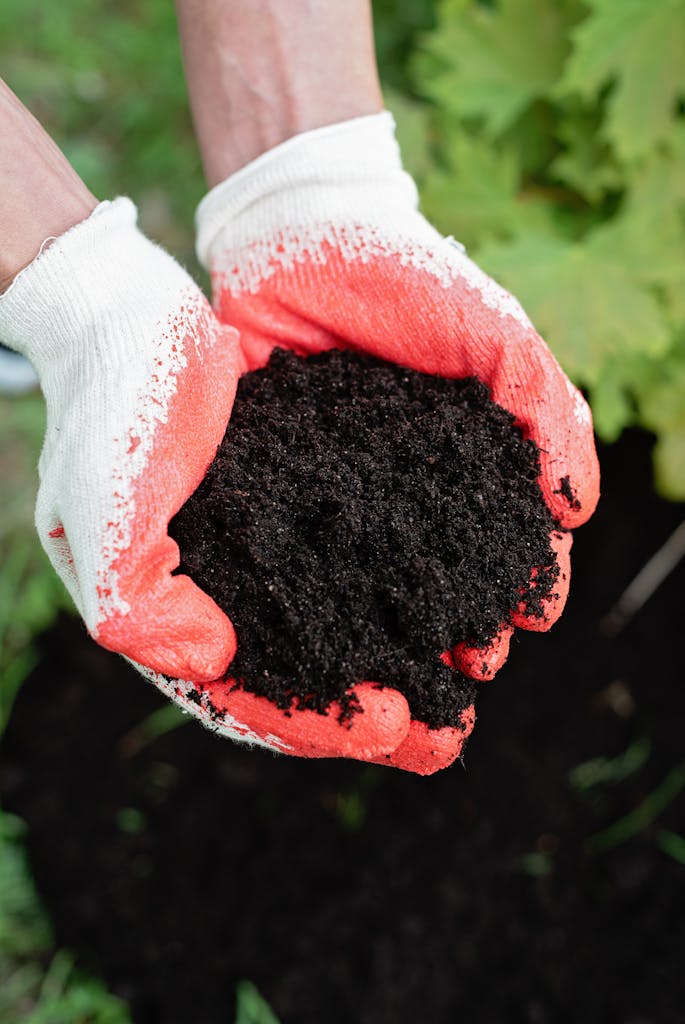
After watching my garden budget drain away on premium potting mixes, I finally decided to learn the art of mixing my own soil. I’ve refined my recipe, and now I make soil that outperforms the expensive store-bought stuff.
Here’s my basic recipe that I’ve perfected over time: 60% aged compost (homemade or bulk purchased), 20% coir (I buy this in compressed bricks – so much cheaper than peat moss!), 10% vermiculite, and 10% aged pine bark fines. I’ll add about 5% extra perlite for plants that need extra drainage.
The real money-saver? I buy my amendments in bulk during the off-season.
Those compressed coir bricks are particularly impressive – one $15 brick expands to make about 2 cubic feet of material. Compare that to buying bags of pre-mixed potting soil at $25 per cubic foot!
Let me share a hard-learned lesson about storage: keep your soil components in separate containers until you’re ready to use them. I once pre-mixed a huge batch, stored it in my garage, and found it had become a soggy, anaerobic mess by spring.
Testing is crucial – don’t skip this step like I did initially! I make a small batch first and grow a few test plants before mixing up a large quantity. Some indicators I look for are: does water drain well but retain moisture? Do seedlings emerge strong and healthy? Does the mix maintain its structure over time?
The best part about mixing your own soil is the ability to customize it. My tomato mix differs from my succulent mix, which is different from my seed-starting mix. Once you understand the basic principles, you can adjust the ratios to suit any growing need.
I’ve found that the gardening community is incredibly generous with both knowledge and resources. Don’t be shy about connecting with other gardeners in your area – whether through local gardening clubs, community gardens, or online forums. You might find someone who has excess wood chips to share, or maybe you can organize a bulk soil purchase together.
The beauty of these soil-building methods is that they compound over time. Each season your soil gets richer and more alive, requiring fewer inputs and producing better results. It’s like starting a savings account for your garden – every amendment you add is an investment in future growth.
Ready to start your soil-saving journey? Pick just one method from this guide and give it a try this season. Maybe start that compost pile, or reach out to local coffee shops about their used grounds. Document your progress, learn from any mishaps (we all have them!), and celebrate your successes.
