Meta Description (150 characters): Learn how to build an affordable DIY drip irrigation system for under $30. The step-by-step guide includes a materials list, installation tips, and money-saving hacks for garden irrigation.
Did you know that drip irrigation can reduce water usage by up to 60% compared to traditional sprinkler systems? As a passionate gardener who’s built multiple irrigation systems, I can tell you that creating your own DIY drip irrigation setup doesn’t have to break the bank.
In this comprehensive guide, I’ll show you exactly how to build an efficient watering system that will save you time, money, and precious water resources. Get ready to transform your garden with this budget-friendly solution!
Materials Needed for Your Budget Drip Irrigation System
Let me tell you about my first attempt at buying irrigation supplies – I walked into the hardware store without a plan and ended up with a cart full of stuff I didn’t need!
Learn from my mistake. Here’s what you actually need:
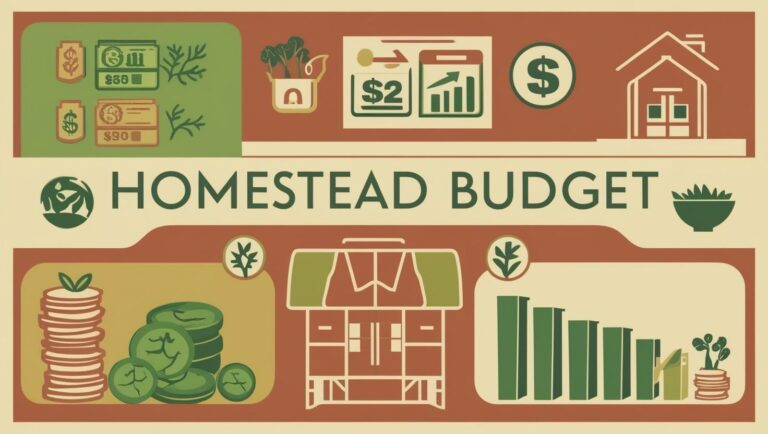
The core supplies (which should total around $25-30):
- 100 ft of 1/2 inch poly tubing ($12)
- 50 drip emitters ($5)
- 1 filter/pressure regulator combo ($8)
- 1 faucet adapter ($3)
- 25 ft of 1/4 inch micro tubing ($2)
- Pack of various fittings (tees, elbows, end caps) ($5)
I’ve found that Home Depot and Lowe’s usually have the best prices on the main poly tubing, but here’s a money-saving tip: check Amazon for bulk emitters and micro tubing. I once saved about 40% by buying these smaller components online.
For tools, you probably already have what you need:
- Sharp scissors or tubing cutter
- Phillips screwdriver
- Hammer (for ground stakes)
One mistake I made early on was buying “universal” fittings that claimed to fit everything. They don’t! Stick with fittings designed specifically for your tubing size. Trust me, fixing leaks is no fun.
Planning Your Drip Irrigation Layout
The first time I installed a drip system, I just started laying tubing wherever I thought it should go. Big mistake! I ended up with uneven water pressure and dry spots throughout my garden. Here’s what I’ve learned about proper planning:
Start by drawing your garden on paper – it doesn’t have to be artistic! I use graph paper where each square equals one foot. Mark your water source and all your plants. This simple step has saved me countless headaches.
When it comes to water pressure, here’s a rule of thumb I discovered through trial and error: for a basic $30 system, keep your main line under 100 feet and don’t exceed 50 emitters per line. My first system had 75 emitters on one line, and the plants at the end barely got any water!
Step-by-Step Installation Guide
You know what? The first drip system I installed took me an entire weekend. Now I can knock one out in about 2 hours! Here’s my tried-and-true installation process that’ll save you from making the same mistakes I did.
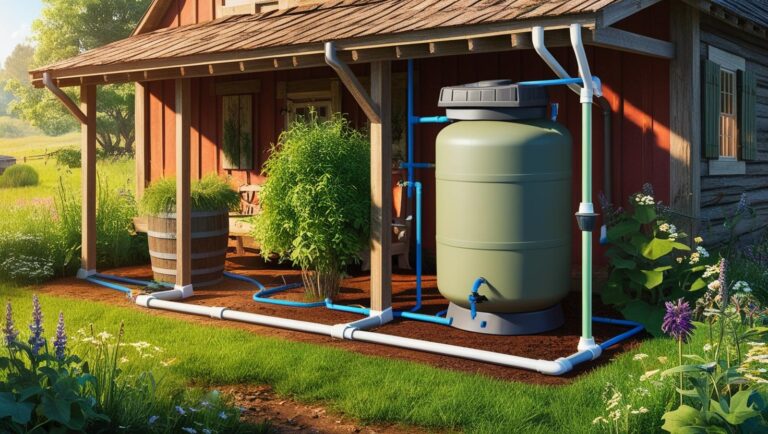
Let’s start with the spigot. I learned this part the hard way – skipped the filter on my first setup and ended up with clogged emitters after just two weeks! Here’s what you need to do:
Attach the filter/pressure regulator combo directly to your outdoor faucet. Make sure it’s hand-tight – I’ve cracked one using pliers before (not my proudest moment!). The filter is crucial because even clean-looking water can contain tiny particles that’ll clog your emitters.
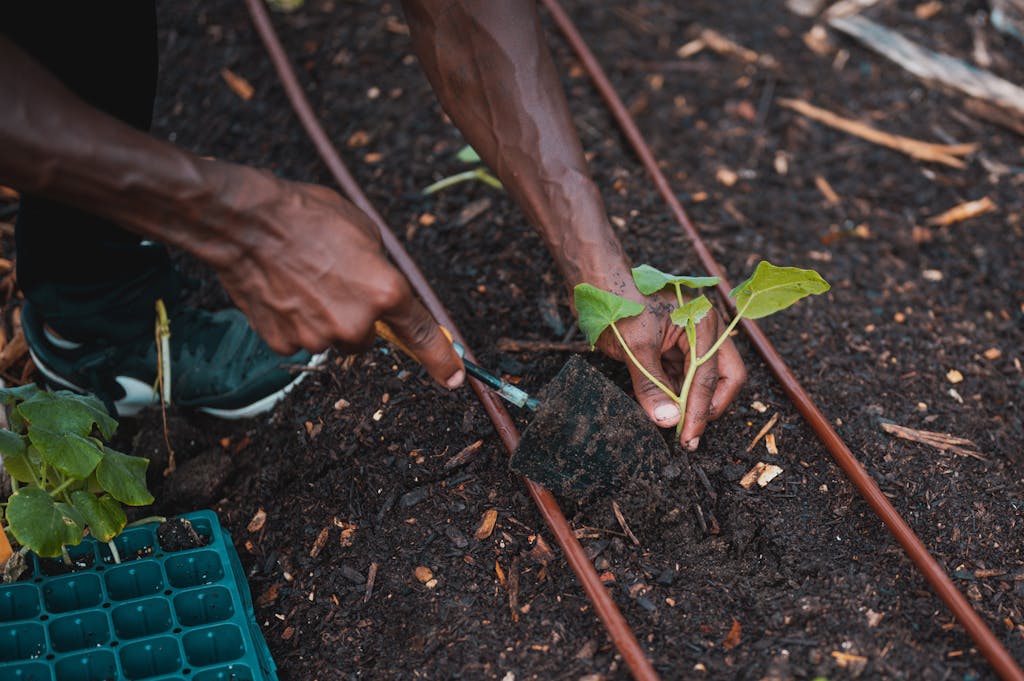
Next comes the mainline installation. Here’s where I see most people mess up – they try to make turns that are too tight. The 1/2 inch tubing needs gentle curves, or it’ll kink. I like to lay out the tubing in the sun for about 30 minutes before working with it – makes it much more flexible and easier to handle.
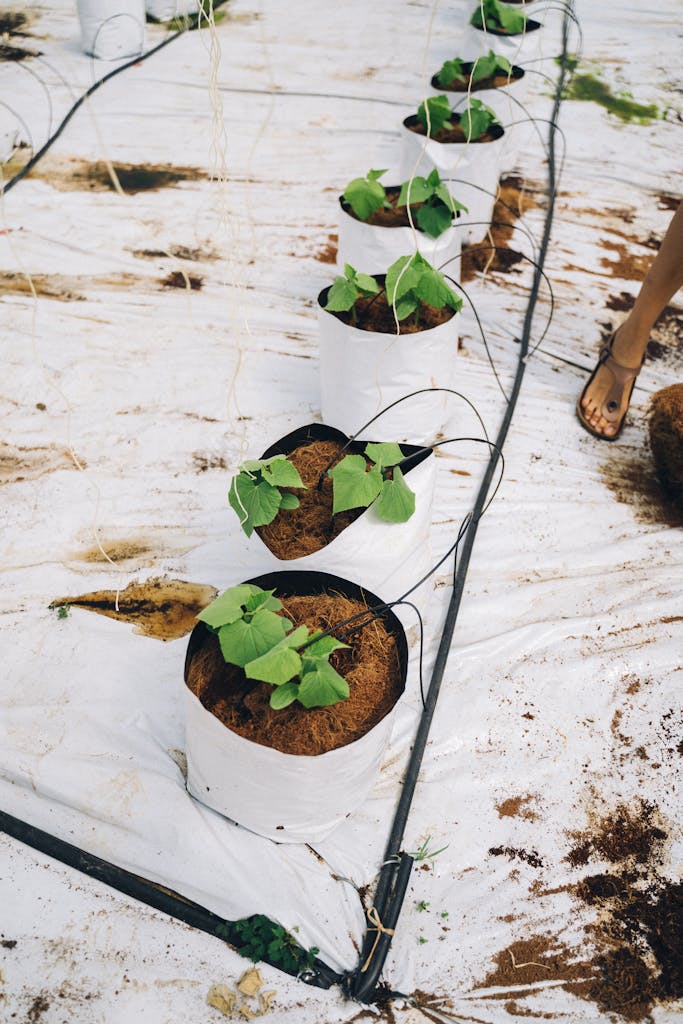
For the emitters, I’ve found that starting at the water source and working your way out is best. Space them every 12 inches for vegetables or 18 inches for larger plants. Don’t do what I did my first time and put an emitter right next to each plant – you want the water to spread out underground!
Maintenance and Optimization
Would you believe I once forgot to drain my system before winter and came back to a spiderweb of cracked tubes in spring? Maintenance doesn’t have to be complicated, but it does need to be consistent.
Here’s my seasonal checklist that’s kept my current system running smoothly for three years:
Monthly Checks:
- Walk the line and look for clogged emitters (you’ll spot them by the lack of dripping)
- Check for any tubes that have popped out of fittings
- Flush the system by removing end caps and running for 5 minutes
I’ve learned that prevention is way easier than fixing problems. Every other month, I add a cap full of white vinegar to the system and let it run for 15 minutes. This keeps mineral buildup from clogging the emitters – a trick I learned from an old-timer at my local garden center.
Water Conservation and Money-Saving Tips
Let me share something crazy – after installing my first proper drip system, my summer water bill dropped by almost $40 per month! But getting these kinds of results requires some smart planning and a few insider tricks I’ve picked up along the way.
The biggest game-changer for me was adding a simple digital timer. Yes, it’s an extra $20 beyond our $30 budget, but it paid for itself in water savings within the first month.
I set mine to water deeply but infrequently – 30 minutes three times a week rather than 10 minutes daily. This encourages deeper root growth and actually reduces water waste.
Here’s another money-saving tip that took me way too long to figure out: collect rainwater! I added a simple diverter to my gutter downspout that feeds into a 55-gallon drum. During peak growing season, this supplies about 25% of my garden’s water needs – completely free!
A word about timing: I water between 4:00 AM and 7:00 AM. Why? Because watering during these hours resulted in about 30% less water loss from evaporation than daytime watering.
Plus, the plants love getting their drink early in the morning – just like I do with my coffee!
Here’s what I want you to take away from all this: starting a DIY drip irrigation system doesn’t have to be overwhelming or expensive. Start small – maybe just one raised bed or a row of tomatoes.
That’s how I began, and I gradually expanded as I learned what worked best for my space. Trust me, once you see how your plants thrive with consistent watering (and how much time you save not dragging hoses around!), you’ll wonder why you didn’t start sooner.
One final tip that transformed my gardening experience: take photos of your setup before you mulch over everything.
I learned this lesson the hard way when I needed to add an extension and couldn’t remember exactly where I’d run the main line. Those photos have saved me countless hours of guesswork during system modifications.
Your DIY drip irrigation system doesn’t have to be perfect – it just has to work for you and your plants. And hey, if you run into any challenges along the way, remember that even those of us who’ve been doing this for years still learn something new with each season.